Easter is the time of year when everything blooms—flowers burst into color, bunnies hop about, and your taste buds dance in anticipation of sweet delights like Easter Fudge. This decadent treat combines creamy chocolate with colorful sprinkles to create a visual feast that’ll make your heart leap like a bunny on a sugar high.
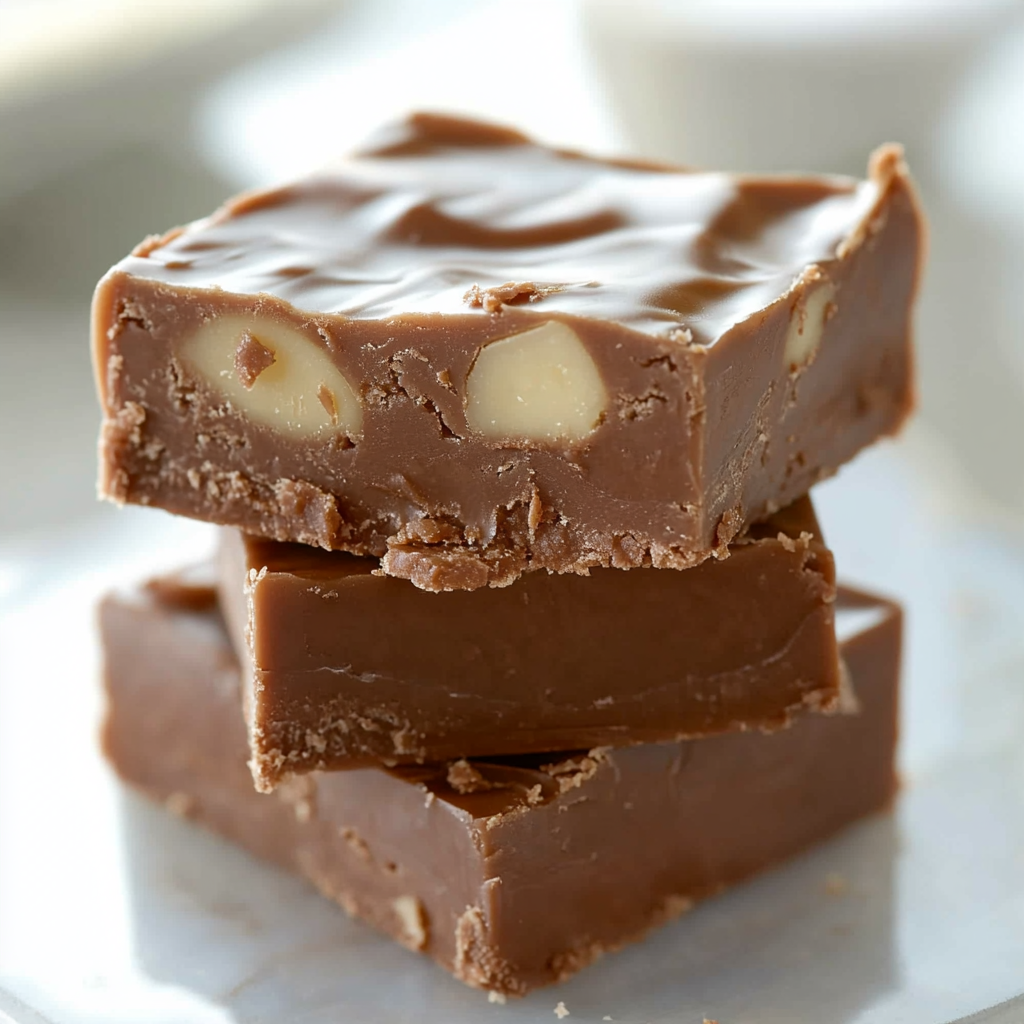
Imagine biting into a piece of this smooth, melt-in-your-mouth confection as the rich flavors mingle with the crunch of festive candy pieces. It’s the perfect addition to your Easter celebrations or just an excuse to indulge in some chocolatey goodness while pretending you’re being festive!
Why You'll Love This Recipe
- This delightful Easter fudge is incredibly easy to make, requiring minimal effort yet delivering maximum flavor
- Its vibrant colors make it visually appealing and perfect for any gathering
- You can customize it with different toppings or mix-ins based on your preferences or what you have on hand
- Plus, it’s a great treat for kids to help with during the holidays!
I remember making this Easter Fudge for the first time with my niece. We ended up covered in melted chocolate and sprinkles—it was messy but hilarious!
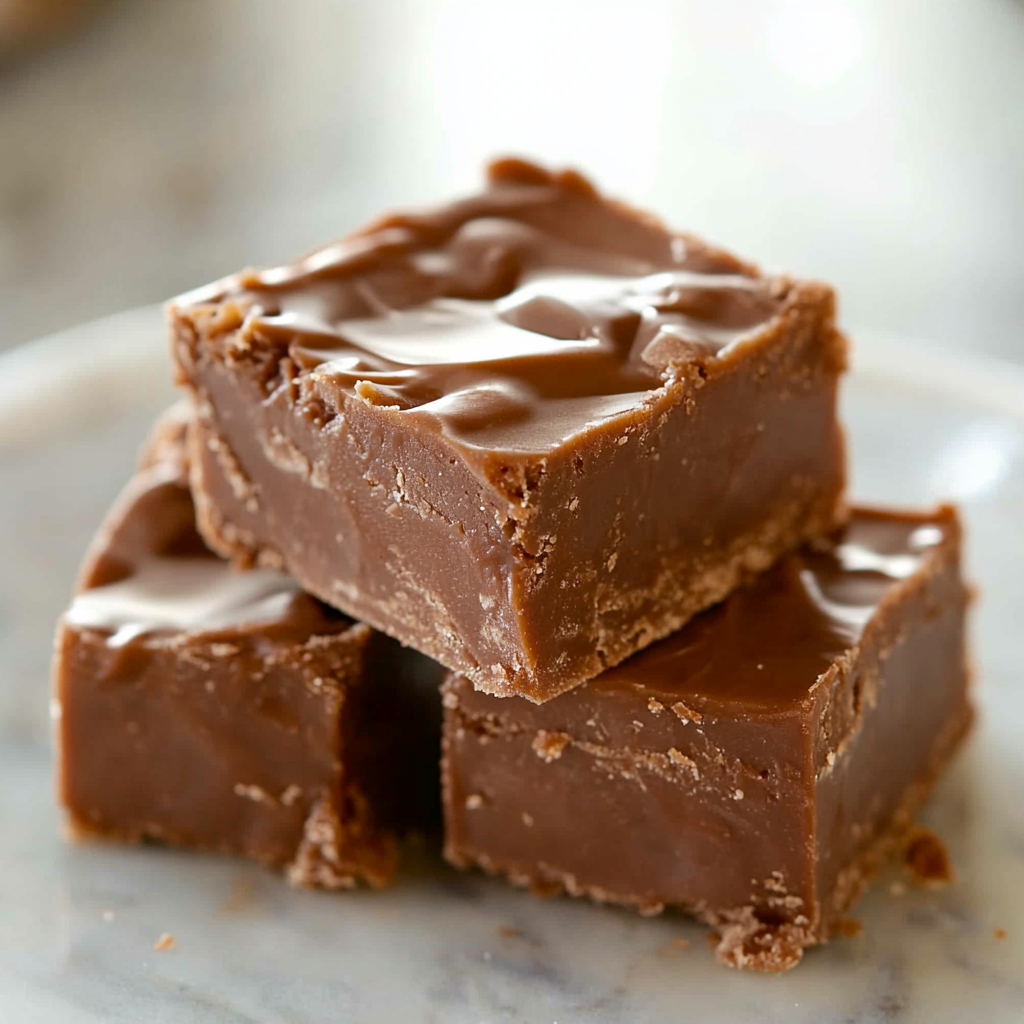
Essential Ingredients
Here’s what you’ll need to make this delicious dish:
- Sweetened Condensed Milk: This creamy base is essential for creating that rich texture; don’t skimp on quality here.
- Chocolate Chips: Semi-sweet or milk chocolate chips work best; they melt beautifully for a smooth finish.
- Butter: Use unsalted butter for better control over seasoning; it adds richness to the fudge.
- Vanilla Extract: Just a splash enhances the flavor profile; always opt for pure vanilla extract if you can.
For Toppings:
- Colorful Sprinkles: A must-have for that festive look; choose your favorite colors to match your theme.
- Mini Marshmallows: These add fun texture and sweetness—perfect for kids (and adults) who love marshmallow fluffiness.
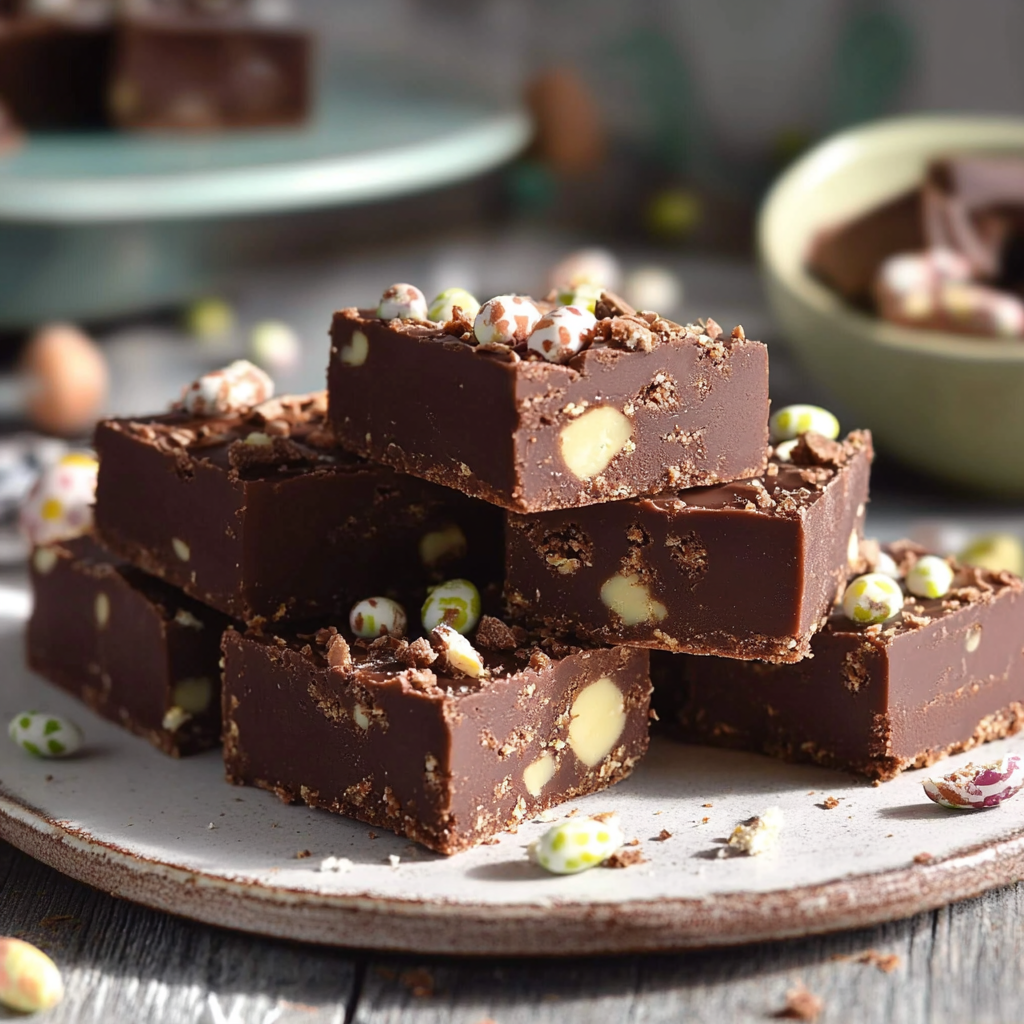
- Candy Eggs: Chocolate eggs provide a delightful crunch—ideal for an extra surprise in every bite!
The full ingredients list, including measurements, is provided in the recipe card directly below.
Let’s Make it Together
Gather Your Ingredients: Make sure all ingredients are within reach; have your baking dish ready and lined with parchment paper.
Melt the Chocolate Mixture: In a medium saucepan over low heat, combine chocolate chips and sweetened condensed milk. Stir until smooth and glossy.
Add Flavorings: Remove from heat and quickly stir in butter and vanilla extract until fully blended. The aroma will be heavenly!
Pour into Prepared Dish: Pour the mixture into your lined baking dish while it’s still warm. Use a spatula to spread it evenly—this is where patience pays off!
Add Toppings Galore!: Sprinkle colorful toppings over the fudge before it sets; press them down gently so they stick well.
Chill Until Set: Refrigerate for at least 2 hours until firm. Once set, lift out using the parchment paper and slice into squares that are as delightful as they are delicious!
Now you’re ready to share (or not) this delectable Easter treat! Enjoy every creamy bite of your homemade Easter Fudge as you bask in the joy of springtime festivities!
You Must Know
- The Easter fudge recipe is so simple and fun
- It’s a delightful treat that can easily be customized for any occasion, bringing joy to your family gatherings
- Remember, the chocolate should be creamy and smooth, while the colorful candies add a festive crunch
Perfecting the Cooking Process
Start by melting your chocolate slowly over low heat, stirring consistently to prevent burning. Once fully melted, mix in your sweetened condensed milk for a creamy blend before adding any extras.
Add Your Touch
Feel free to swap in different types of chocolate or add nuts and dried fruits. You could even throw in some marshmallows for an extra gooey texture that will make everyone smile.
Storing & Reheating
Store your Easter fudge in an airtight container at room temperature for up to a week. If it’s a hot day, refrigerate it to maintain its shape and texture.
Chef's Helpful Tips
- When preparing Easter fudge, ensure your chocolate is of high quality—it makes all the difference in flavor
- Don’t rush melting; patience ensures a smooth texture
- Lastly, allow the fudge to cool completely before cutting; this prevents messy edges
I remember the first time I made this Easter fudge for my family; they devoured it faster than I thought possible! The smiles on their faces were priceless, making it a cherished tradition ever since.

FAQ
Can I use dark chocolate for Easter fudge?
Absolutely! Dark chocolate adds a rich flavor that balances the sweetness well.
How long does homemade Easter fudge last?
Homemade Easter fudge can last up to one week when stored properly in an airtight container.
What can I add to enhance my fudge?
Consider adding crushed nuts, mini marshmallows, or even colorful sprinkles for a festive touch!

Easter Fudge
- Total Time: 25 minutes
- Yield: About 16 servings 1x
Description
Easter Fudge is a colorful, creamy treat that’s quick to make and perfect for spring celebrations. Delight in its rich chocolate flavor topped with festive candies.
Ingredients
- 1 can sweetened condensed milk
- 2 cups chocolate chips (semi-sweet or milk)
- 1/4 cup unsalted butter
- 1 teaspoon pure vanilla extract
- Colorful sprinkles, mini marshmallows, and candy eggs for topping
Instructions
- Gather all ingredients and line a baking dish with parchment paper.
- In a medium saucepan over low heat, melt chocolate chips with sweetened condensed milk, stirring until smooth.
- Remove from heat and stir in butter and vanilla extract until fully blended.
- Pour the mixture into the prepared baking dish, spreading it evenly.
- Sprinkle colorful toppings over the fudge while still warm, gently pressing them down to adhere.
- Refrigerate for at least 2 hours until firm. Lift out using parchment paper and cut into squares.
- Prep Time: 15 minutes
- Cook Time: 10 minutes
- Category: Dessert
- Method: Baking
- Cuisine: American
Nutrition
- Serving Size: 1 square (30g)
- Calories: 120
- Sugar: 12g
- Sodium: 15mg
- Fat: 7g
- Saturated Fat: 4g
- Unsaturated Fat: 2g
- Trans Fat: 0g
- Carbohydrates: 14g
- Fiber: 0g
- Protein: 1g
- Cholesterol: 10mg
Keywords: Customize your fudge by using different types of chocolate or adding nuts and dried fruits for added texture. Store the fudge in an airtight container at room temperature for up to one week.
